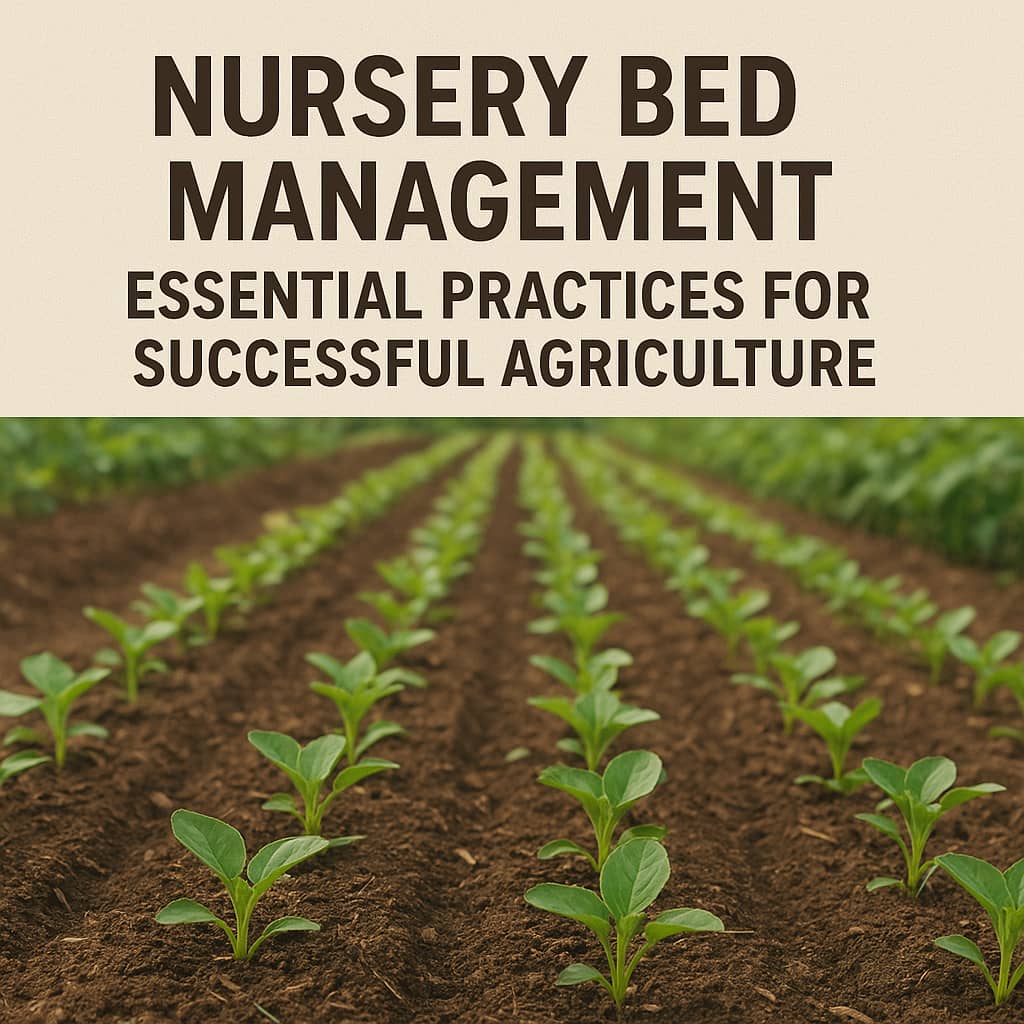
Nursery Bed Management: Essential Practices for Successful Agriculture
Transform your farm into a well-oiled machine! Streamline tasks, save time, and focus on growth. Download now!
A nursery bed is a prepared plot of land for raising seedlings. It acts as a temporary home for young plants until they are eventually planted in a main garden. Vegetables such as cabbage, onions, tomatoes, and eggplants are best raised in the nursery bed.
The nursery bed is generally used to germinate sown seeds or root cuttings planted in the soil. Besides nutrition, sufficient moisture and aeration are important factors that affect seedling growth.
Seeds should be planted at a spacing of 15cm between rows, cover the seeds lightly, and mulch the bed with dry grass.
The bed should have been watered thoroughly on the day prior to sowing. Mulching a nursery bed soon after sowing seeds is a must. Mulch the seedbed after sowing until germination.
The basic factors that affect plant growth in general also play a part in propagation, including temperature, water, light, and nutrition. There are three ways to do this:
- Flatbeds
- Raised beds
- Sunken beds
Before planting the seeds, make sure that the nursery location is near a water source. Carry out seed selection/variety selection and tillage operations, including first and second tillage, leveling the bed, and sterilizing the soil by burning grass or using a steam bath.
Apply organic fertilizers, especially farmyard manure and compost manure. Design the bed, either raised, lower, or flat, water the beds to field capacity, and finally mulch the beds using grass or polythene bags.
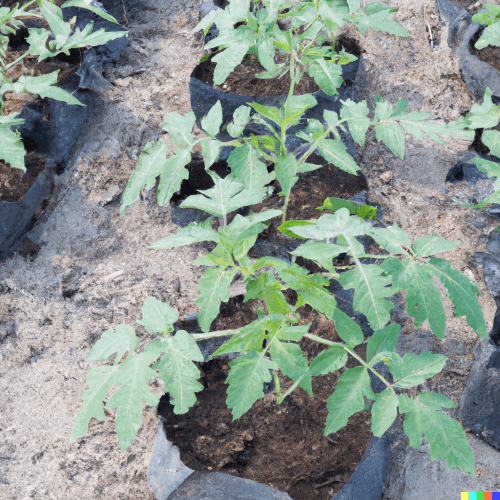
Tomato in a Nursery Bed
During planting, you should do the following;
- Making of the furrows.
- Sowing the seed evenly and thinly.
- Watering of the beds.
- Mulching of the beds.
- Fencing of the beds.
- Plant the tap root to approximately 1/3 of the total length to encourage root development.
- Firm the soil around the plant to speed up water absorption.
After planting, do the following;
- Watering the beds at field capacity to avoid over-watering.
- Do not water when there is enough rainfall.
- Water three times; reduce to two, and finally once a day when hardening off (exposing it to harsh environmental conditions).
- Weeding: especially hand weeding to avoid competition.
- Thinning of overcrowded seedlings.
- Pest and disease control.
- Fertilizer application, especially Calcium Ammonium Nitrate (CAN), should be applied when the seedlings appear chlorotic, yellowish, and stunted. Use 20 grams of CAN per 20 liters of water, then wash down with an equal volume of water to avoid scorching the leaves.
- Grading the seedlings based on the growth rate, root growth, and maturation
- Boost the seedlings with Super Grow, D.I. grows, or any other booster.
- Provide shade for seedlings.
- Prune the roots, especially for agroforestry.
Transplanting: The Key to Healthier, Stronger Crops

A farmer transplanting tomatoes
Transplanting involves the movement or transfer of a plant from a nursery bed to a garden, or the technique of relocating a plant from one location to another.
Pricking out, on the other hand, refers to the transfer of seedlings from a seedbox to plant trays, such as boxes or transplanting beds.
The planning trays should measure 41 cm square and 15 cm deep. To prepare them, fill 5cm of the box with decayed compost manure, mix at a ratio of 10% sand, 60% forest soil, 10% ordinary red soil, and 20% decayed organic matter, then lightly pack the tray.
The tools used for transplanting in agriculture include hand trowels, spades or shovels, yard carts, and water jugs, among others.
The Process of Transplanting
- Remove the plant from its pot when it is 25mm tall and transplant it.
- Seedlings, such as cabbage and tomatoes, are ready for transplanting at the age of 3-4 weeks.
- Inspect the roots; if they completely cover the soil, tease them gently apart and remove the seedlings with the soil.
- Place the plant in the bucket or the container, or in the prepared hole.
- Firm the soil around the plant with your hands.
- Water the seedlings at field capacity.
- Resetting using reset boards.
Conclusion
Proper nursery bed management and effective transplanting techniques are critical for successful crop production. Creating suitable conditions for seedling growth, providing adequate nutrition and water, and ensuring proper spacing and mulching contribute to healthier and stronger crops.
Join Our Community ()
Unlock your farm’s full potential! Say goodbye to stress and hello to efficiency. Download now!
